PicGo+Gitee+Typora部署图床
本文最后更新于:2022年5月29日 上午
安装过程
Step 1:安装Typora
Windows系统直接到官网下载安装包进行安装即可,Linux环境下点击查看Typora Linux安装。
Step 2:安装nodejs
原文参考连接:Ubuntu 安装最新版nodejs
卸载ubuntu自带的nodejs,去安装最新的:nodejs
去 nodejs 官网 https://nodejs.org 看最新的版本号;
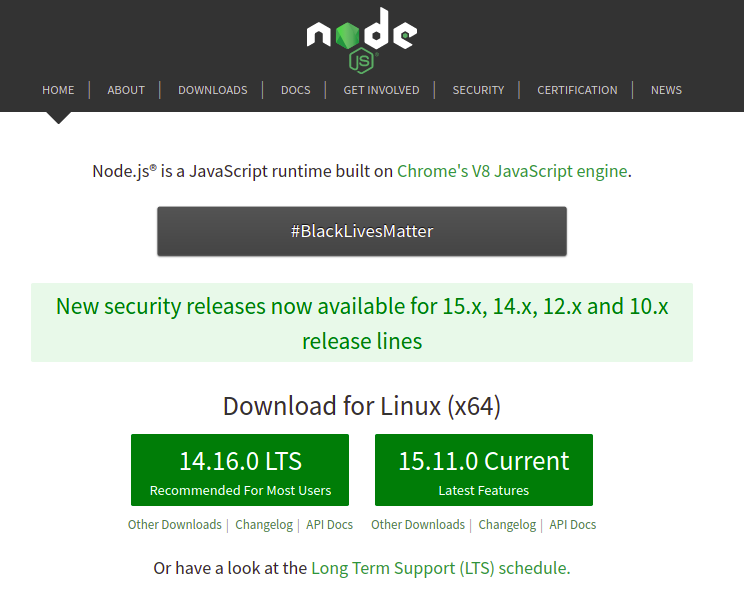
也就是说此时此刻,15.11.0 是最新的版本,不过你求稳的话建议选 14.16.0 的LTS版。添加源后安装
nodejs 的每个大版本号都有相对应的源,比如这里的 14.x.x版本的源是https://deb.nodesource.com/setup_14.x。在终端执行:1
curl -sL https://deb.nodesource.com/setup_14.x | sudo -E bash -稍等片刻,源已经添加完毕,再执行:
1
sudo apt-get install -y nodejs等待安装完成。
最后验证一下,终端执行:
nodejs -v即可出现刚才安装的版本号。
Step 3:配置Gitee
参考大佬的详细教程:PicGo+Gitee搭建个人图床
主要有两个步骤:
- 新建放置图床的仓库
- 获取私人令牌
Token
Step 4:安装配置PicGo
下载 PicGo软件
或者:
- 百度云网盘:Picgo-2.2.2.Applmage
密码:r0bl
配置 PicGo软件
- 插件设置里面搜索
gitee安装插件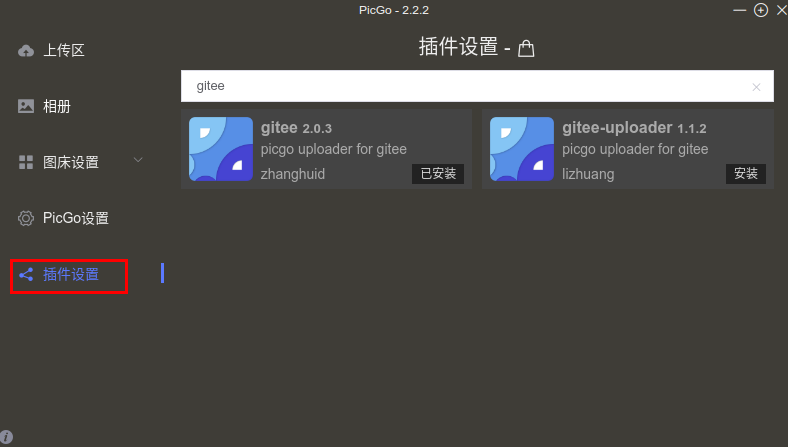
- 配置Gitee图床
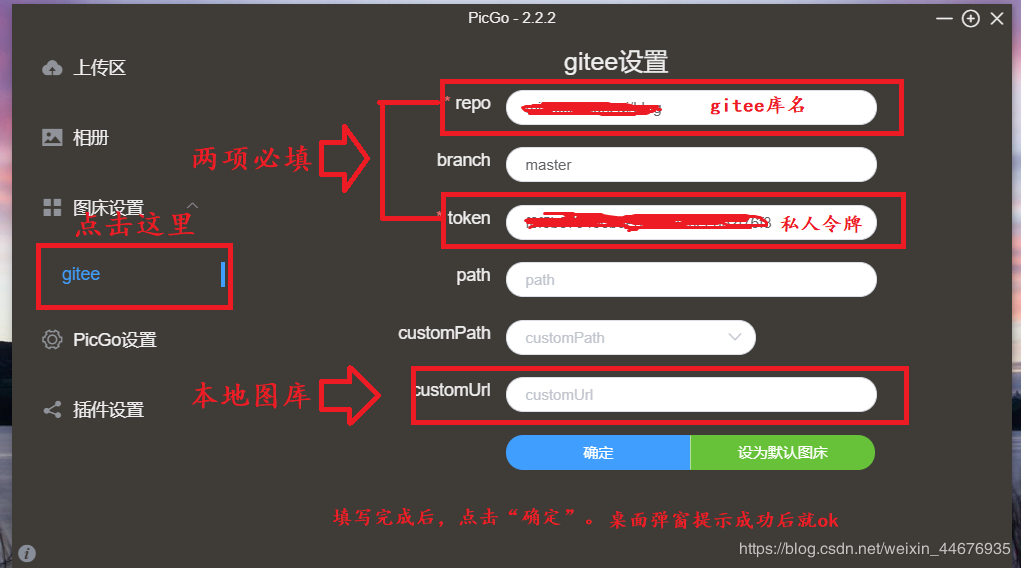
- owner:所有者,写上你的码云账号名,如果你不知道你的账号名,进入你刚才的仓库,浏览器url里面有

- repo:仓库名称,只要写上仓库名称就行,比如我自己的仓库blogImage
- path:写上路径,一般是img,这几个项都不用加“ / “符号
- token:获取的Gitee个人令牌
- message:不用填
- owner:所有者,写上你的码云账号名,如果你不知道你的账号名,进入你刚才的仓库,浏览器url里面有
安装 PicGo-Core
1 | |
配置 PicGo-Core
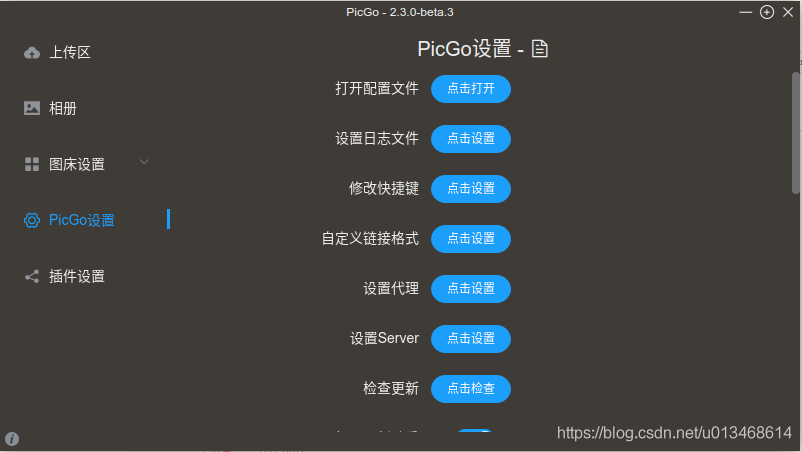
PicGo-core的配置文件地址:
~/.picgo/config.jsonPicGo GUI的配置文件如下方式打开:
参照PicGo GUI配置文件来编写PicGo-core的配置文件:
1
2
3
4
5
6
7
8
9
10
11
12
13
14
15
16
17
18
19
20
21
22
23
{
"picBed": {
"current": "gitee",
"uploader": "gitee",
"smms": {
"token": ""
},
"gitee": {
"message": null,
"owner": "gitee用户名",
"path": "img",
"repo": "gitee用户名/仓库名",
"token": "xxxxxxxxxxxxxxxx私人令牌的tokenxxxxxxxxxxxxxxxx"
}
},
"picgoPlugins": {
"picgo-plugin-gitee": true,
"picgo-plugin-gitee-uploader": true
},
"picgo-plugin-gitee-uploader": {
"lastSync": "2020-09-11 06:40:29"
}
}
Step 5:配置Typora集成PicGo-core
- 配置Typora图像偏好设置,点击Typora工具栏 File->Preference ,在下面界面的自定义命令一栏中填入
/usr/bin/node /usr/bin/picgo upload
- 点击
Test Uploader按钮测试一下,下图为测试成功,大功告成!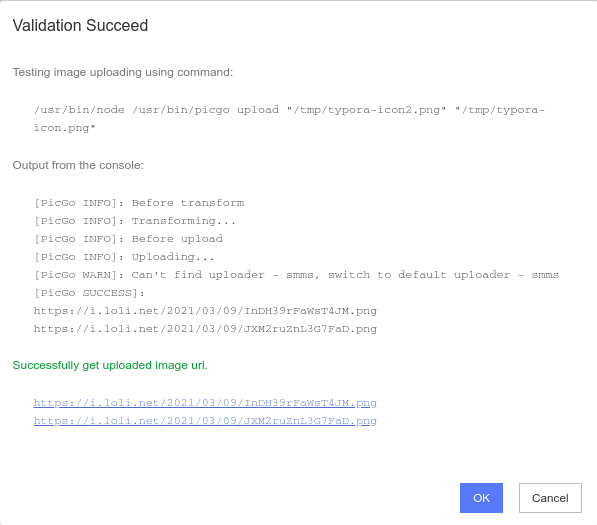
END
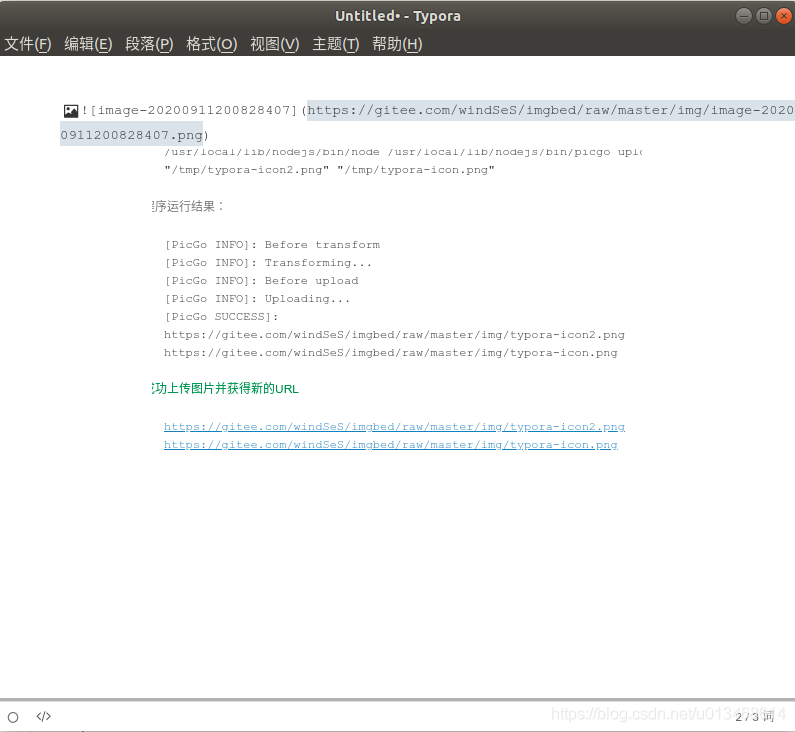
此时,新建一个typora,在里面插入一张图片,它会自动将图片上传到gitee对应仓库,并将本地地址改为网络地址。
参考链接
【1】https://support.typora.io/Upload-Image/#picgo-core-command-line-opensource
【2】https://blog.csdn.net/weixin_45819130/article/details/111331502